Tuesday, December 31, 2013

One More Christmas Craft That Should Have Been Posted A Long Time Ago


Here's a quick little gift card/gift bag craft that I'm late posting for Christmas (and with crappy photos!).  At least maybe it will give you some ideas for next year :)
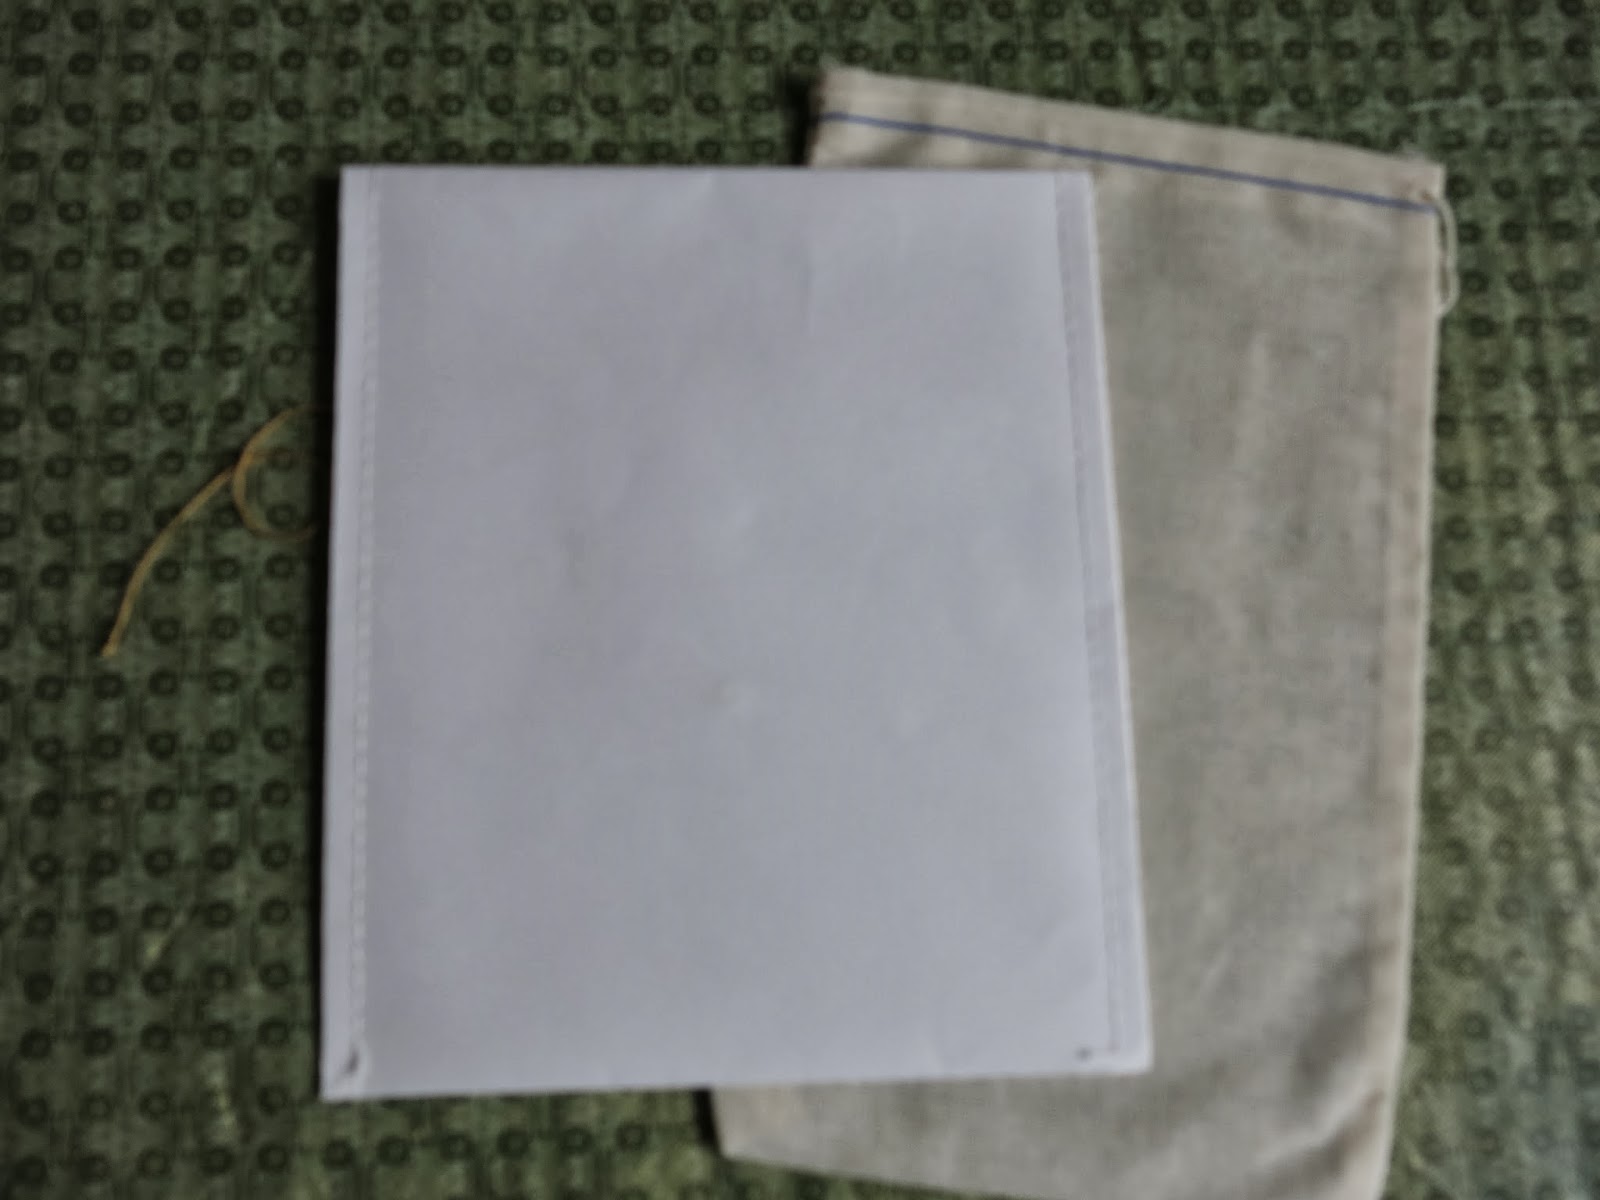

If you've ever purchased anything from Anthropologie online, you've probably received your receipt in a little paper pouch.  They used to send your receipt in a little cloth bag.  Both of these items are great to recycle into gift bags for little items and gift cards.  I like that these pouches are a little bit bigger, maybe 4 x 5 inches, so they fit a number of things (gift cards, jewelry, handmade cards, little art pieces).  But you can, of course, use any envelope or pouch - even make your own!

I've recently invested in a few inexpensive holiday stamps.  Totally worth the 5 or so $$ I spent.  I've already used them for a few projects.  I simple stamped a design over the front of my paper pouch.  (If you use a cloth pouch, I would suggest putting some newspaper or wax paper instead the pouch before beginning to stamp.  This should keep the ink from transferring to the other side of the bag.)  I clearly need to improve my stamping skills, but you get the idea.  These holiday designs add a fun, festive touch to my pouch/envelope, making it a little more special.


The back side of these pouches have Anthropologie's logo on them.  Luckily, a many years ago, someone gave me this cool "recycled" stamp.  I'm not sure if this stamp is still available from Storybeads in Ann Arbor, but it's the perfect way to cover up the logo and proudly proclaim that this item is RECYCLED.


Hope you had a great holiday!  Now would be a great time to pick up some holiday stamps in the after-Christmas sales!  What a great way to spend New Year's Day :)

Tuesday, December 17, 2013

A Little Gift to You: Favorite New Craft Websites!!

In this season of giving, I thought I would share some great new craft sites I've found:


First up, Find+Craft, a searchable website of craft tutorials.  Here, you can search for craft projects by category, length of time to complete, and experience level.  You can save the projects you like in your "stash" and even easily add your own tutorials.  I think this website is relatively new - the categories are somewhat limited and there aren't A LOT of projects listed.  But hopefully as more people visit and use the site (hint, hint), there will be more tutorials and categories added.  Go check it out now, I'll wait :)

Next - this cool online magazine, Amy Powers' Inspired Ideas.  The current issue is just chock full of great Christmas decorating and craft ideas.  This magazine is gorgeous, and I love, love, love so many of these projects (check out the little Christmas village covered in snow glitter!).  What is particularly great about this magazine is that the projects include all the templates and print outs that you need to complete them!  Looks like I've missed some previous issues, but I'm definitely going to spend some time on this site!


And possibly my fav new site - Pinterest Fail - a BRILLANT idea!!!  This blog heartbreakingly (but hilariously) posts failed attempts at replicating various projects and tutorials on Pinterest.  Let's admit it - we've all been there.  Why not share the pain?  My favorite post - the DIY Chevron Melted Crayon Art.  I remember seeing this on Pinterest and thinking, "that just can't be as easy as it might seem."

So, Happy Holidays from me to you!  I hope these sites were exactly what you were hoping for  :)

Sunday, December 8, 2013

Wrapped Up in a Wreath

Perhaps like a lot of people, my husband and I don't put up a Christmas tree for the holidays.  There's many reasons for this:  we don't have children, we often travel over the holidays, etc.  Despite all that, I do love Christmas tree ornaments, and have made and collected some much-loved decorations over the years.


So this year, I decided to buy an artificial wreath for over our fireplace, and decorate it in lieu of a tree.  All of the decorations are handmade, but come from a few sources:

Some are made by me from recycled greeting cards (tutorial here)!

Some are made of polymer clay and decorated with various stamps (super easy - check out my tutorial)!

Some I received in my knitting group's annual ornament exchange!

I love them all, and found that this burlap ribbon (with just a hint of gold running through it) did a nice job of tying together my shiny, glittery ornaments with my clay and fiber-made decorations.  One note:  I found that just hanging the ornaments on the wreath looked a little weird.  All I could see were the hangers and it distracted from the decorations.  So instead I removed the hanging loops and wired the ornaments in place, securing them to the frame of the wreath. 

I still need to do some re-arranging with the decorations, but I'm really happy with the overall results.  I think it's a great alternative if you don't have a tree. 


Thursday, November 28, 2013

Sweet and Tangy Salad

I hope everyone is enjoying a safe and wonderful Thanksgiving.  I haven't blogged or focused much on Thanksgiving because I don't consider myself much of a foodie or great cook.  But I did want to share this fresh salad I put together for today's meal.


I'm glad I decided to add a green salad to our holiday menu.  It was a nice break from the starches that made up most of our meal.

For my sweet and tangy salad, I used:
  • spring salad greens (I must admit these were packaged)
  • crushed walnuts (broken down into smaller chunks)
  • dried cranberries
  • blue cheese crumbles

I used a healthy tablespoon of each of the toppings (walnuts, dried cranberries and blue cheese) for each serving size.  I made the mistake of tossing my salad before taking any photos, so most of the fun toppings fell to the bottom.  Blue cheese may seem like a weird choice for this salad, but I think it added just the right amount of tang.  This salad would also be great with some leftover turkey tossed in.

To top it off, I threw together what might be called "kitchen sink" dressing, because I just grabbed some stuff that sounded like it would work well together:

Sweet & Tangy Dressing (amounts for a single serving for a side salad)
  • tablespoon of olive oil
  • 1/2 tablespoon of red wine vinegar (maybe a little bit more)
  • tablespoon of raspberry or strawberry preserves (I used strawberry because it's what I had)


You could also add a dash of salt and pepper, but I wanted this dressing to be more fruity than sharp.  Stir together ingredients really, really well.  Make sure you give it a good stir before adding it to your salad.

If I hadn't used this dressing, I probably would have just put on a light drizzle of my favorite poppy seed dressing from my nearby big box retailer.  This stuff is really, really good!


I realize this salad and dressing isn't really breaking new culinary ground, but I was really pleased not only with how this salad and dressing came out, but also how well it complimented our Thanksgiving feast :)

I hope you enjoyed your holiday as much as I enjoyed mine! 


Saturday, November 23, 2013

Have Yourself A Craftastic Holiday!

I'm still in crafting mode as the holiday season heats up (and cools down - brrr!).  Next up:


Every year, I save my favorite cards from the holiday greetings we receive from friends and family.  And now I'm thrilled to have a project that reuses these cards, yet allows me to still enjoy their beautiful images and sentiments. 

This holiday project is easy and great to do with kids.  And the materials are things that most crafters already have on hand!  You can find more information and directions on my Hubpages! 

I hope you are getting your holiday craft on :)

Tuesday, November 19, 2013

Needle Felted Tree for the Holidays or Everyday!!


I know that I promised that I wasn't trying to rush Christmas, but I wanted to share another tree I made.  You can find the directions and details here on my Hubpages.  I didn't specifically make this as a Christmas decoration, and I think I can display this tree year round :)

I've decorated my tree with needle felted flowers, buttons, and some (very basic) embroidery stitches.  If you have never seen needle felting, I've posted a very simple, low-tech video demonstration below.


Thanks!  Let me know if you have any problems viewing the video.