Showing posts with label easy handmade journal. Show all posts
Friday, January 22, 2016
{Quick & Easy Craft Project}: Peacock Covered Notebook or Journal
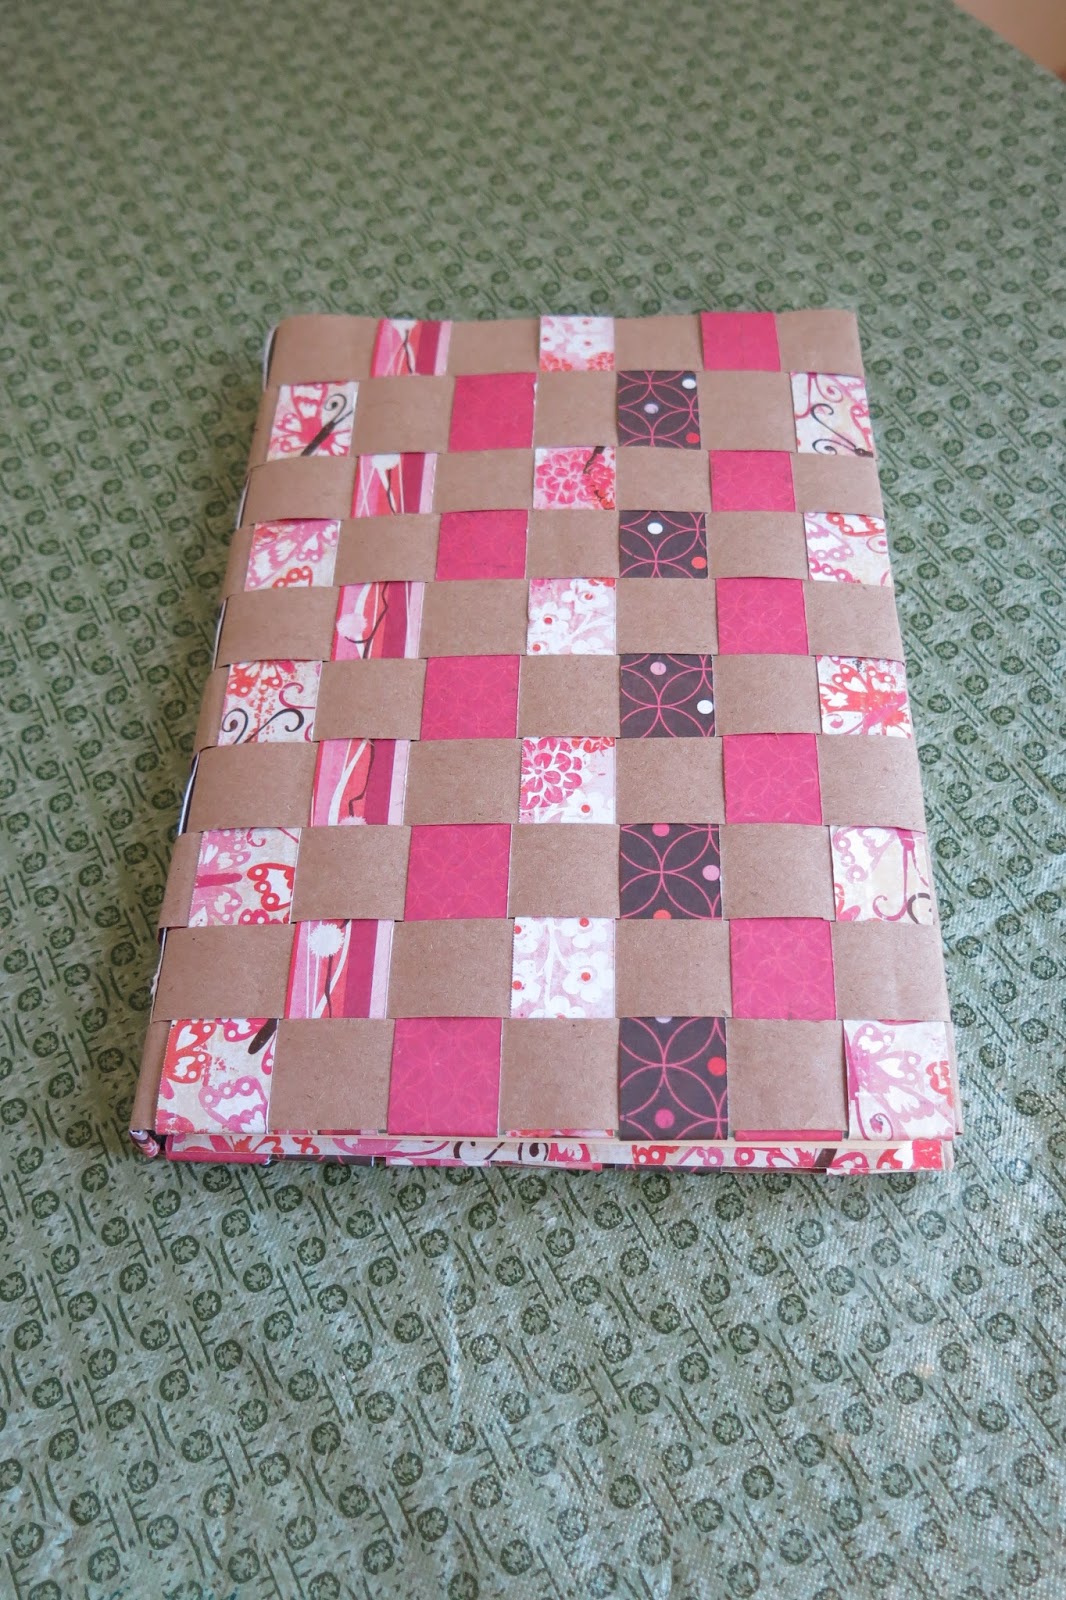
So this project isn't groundbreaking, but I'm pretty pleased with it. My husband brought home this notebook from work, about 6" by 8". It had a dark blue cover with his company's name and logo on it. He asked me if I wanted it. It wasn't pretty, but I can always use more notebooks. And I thought I could make something out of it, like this woven paper journal cover I made.
I had seen other projects where people covered things with these decorative paper towels/napkins. I bought this package months ago at the Christmas Tree Shop for crafting. I think I paid $1 for the package. I wish I had bought more of them because they had a bunch in so many great designs.
I think my mother would call these "paper guest towels". They're larger than napkins, unfolded they're about 11 inches by 15 inches. The towel is made up of a couple layers of paper. There's an inner layer of thicker paper, then the decorative layer is actually made of two very thin layers of tissue paper, one plain and one with the image on it.
These towels are great for découpaging. This is such a quick and easy way to transform a lot of items. I didn't take any photos pf the process because I didn't plan on sharing this project. But the end result is so pretty, I just had to post it.
Generally, you remove all the layers and just work with the thin outer decorative layer of paper and modge podge or glue. But since my notebook had a dark cover with lettering, I first used the inner white thick paper to glue down a base layer over my cover. Once that was dry, I brushed on more glue and laid down my thin decorative paper. When that dried, I trimmed my paper down to the edge of the notebook. Done!
You should put your glue on kind of thick and make sure you spread it all the way to your edges. Your paper is going to wrinkle when you put it down in the glue, so just accept it as part of your design. But you should press down on your paper to get out any bubbles.
The back of my notebook was easier to cover, because it was white with just a logo. I just used the thin outer decorative layer of my towel to cover the back, but you can see where the company logo shows through my paper. It's ok though, happily it kind of works with the peacock design.
I can take no credit for this project. The end result is really pretty, but that's because of the towel design. I'm not really a peacock person, but this image is really stunning (even prettier in person). I've made a few other things with these decorative towels and plan to make more.
Wednesday, July 1, 2015
Favorites: Crafting the Perfect Personal Journal
![]() | ||
However, the super nice and pretty journals can get expensive and sometimes the ugly ones on the clearance table are a tempting alternative. So I created a way to cover the not-so-pretty journals with a unique woven paper design to add color, creativity, and personality to my journal or sketchbook. This same technique can also be used to beautify and upcycle a diary, scrapbook, family albums, photo albums, baby books, and wedding albums.
This paper craft uses the basic weaving technique that most of us learned in art class in school. The materials are hardcover book, some decorative paper and some Mod Podge.
More photos and a step by step tutorial are on my Hubpages. This tutorial is also featured on AnyoneCanScrapbook.com. I hope you check it out!
Thursday, April 17, 2014
Gardening for Dummies (and Journaling too)
| photo after frost :( |
But this year, I thought I would try to be a bit more responsible in our gardening. So I've started a garden journal. I read this interesting article about garden journals and thought it might be helpful to keep track of the types of plants we put in, how many plants we bought, when we planted them, and then the results. Then we would know what worked and what didn't work for next year. Smart, huh?
So I dug out this cheap but pretty spiral notebook that I bought at Big Lots for a $1 and the alphabet stamps my husband bought me for Christmas. Using a larger mailing label, I started to make a decorative title block for my garden journal. I soon realized that:
1. The ink pad I had bought to use with the stamps is crap
2. Stamping takes a bit of practice and preparation
You can see from the photo above that I need to work on getting the right pressure on the stamps and figure out how to get them to line up. Instead of worrying about it, I decided to just go with it.
I continued to stamp my title is a jumblely kind of way, intentionally setting the letters unevenly and pressing the edge of the stamp down to create a block. Then I took my color pencils and colored in the blocks and letters in different tones to match my notebook.
I actually quite pleased with the result. And I was a good girl and immediately wrote down some notes about our plants and garden. I think I might be getting the hang of this gardening thing ;)
Subscribe to:
Posts (Atom)